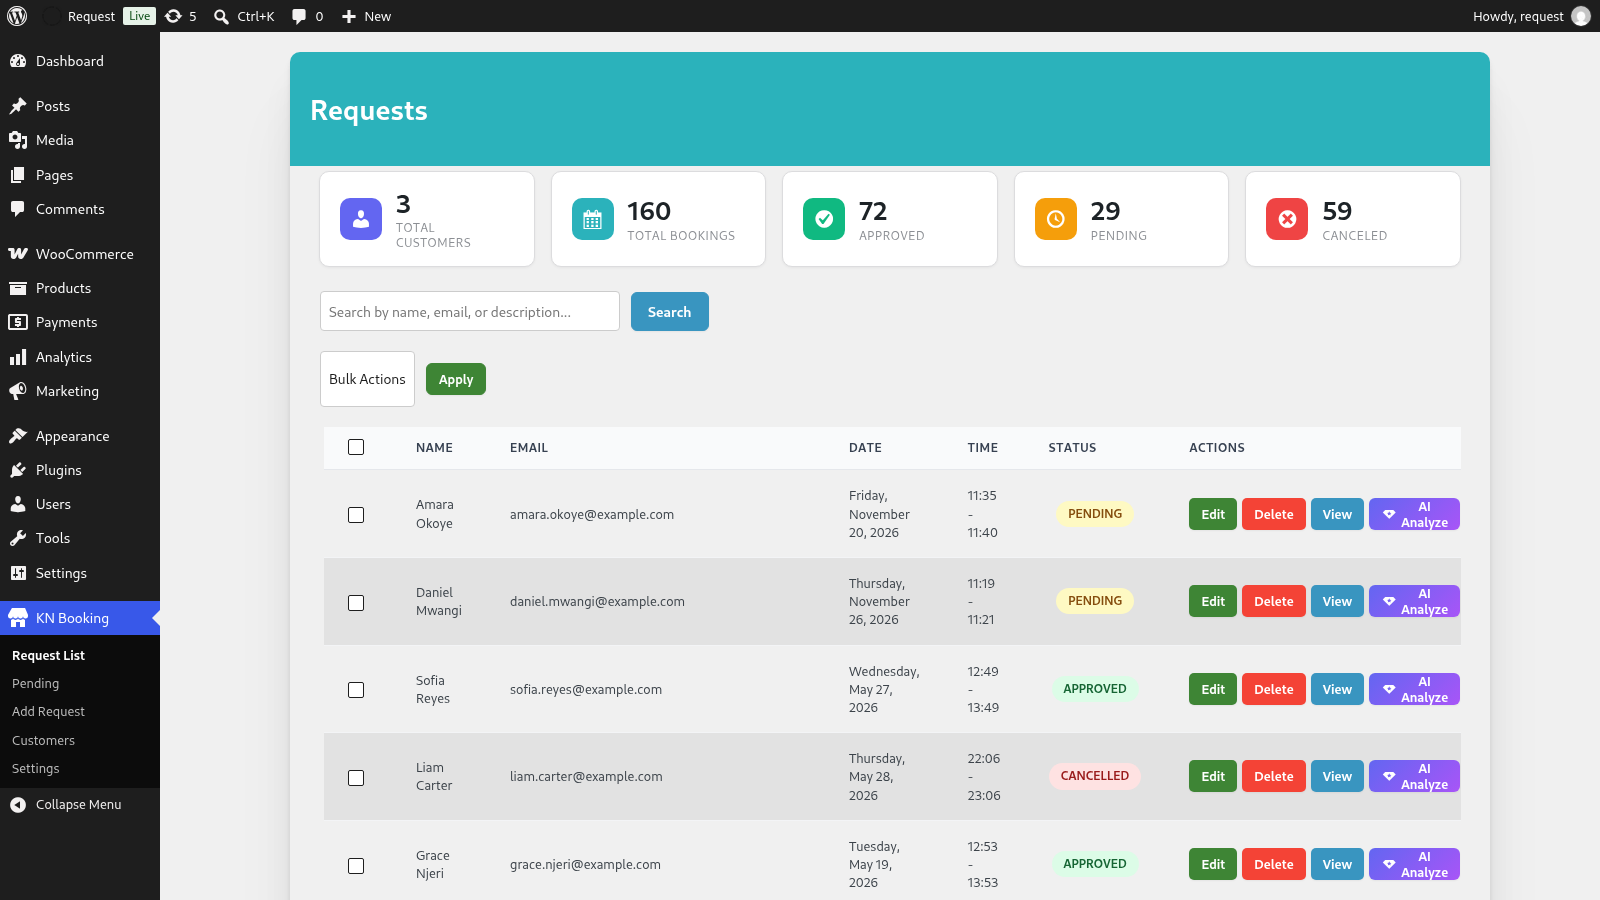
Getting started
1. Install and activate
In your WordPress dashboard go to Plugins > Add New, search for KN Booking, then click Install Now and Activate.
2. Run the setup wizard
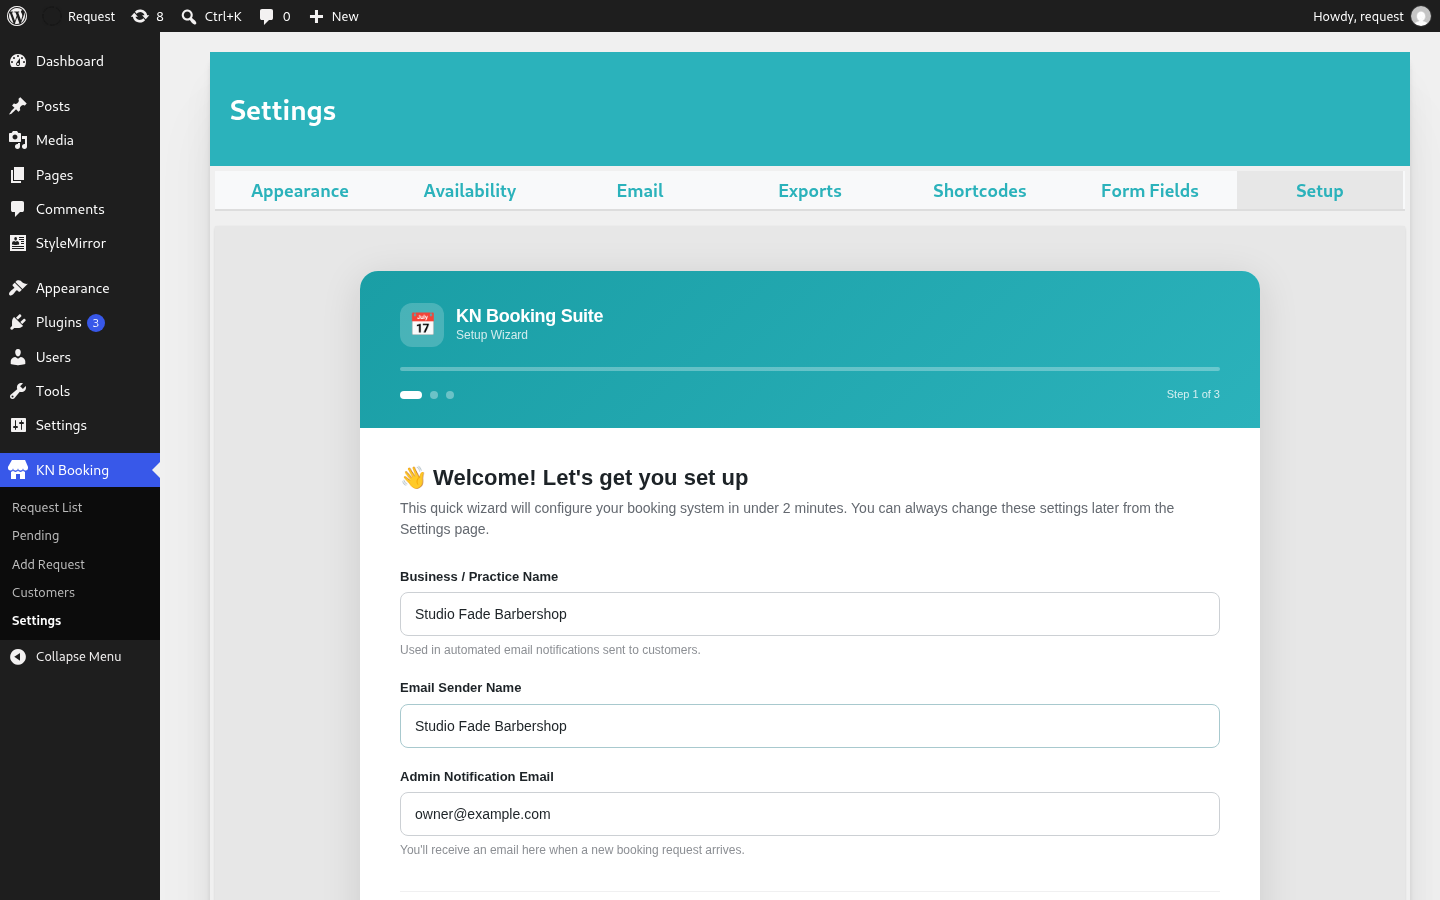
Open KN Booking > Settings > Setup. The wizard has three steps.
Step 1: business info. Enter your business name and the email address that should receive new booking notifications.
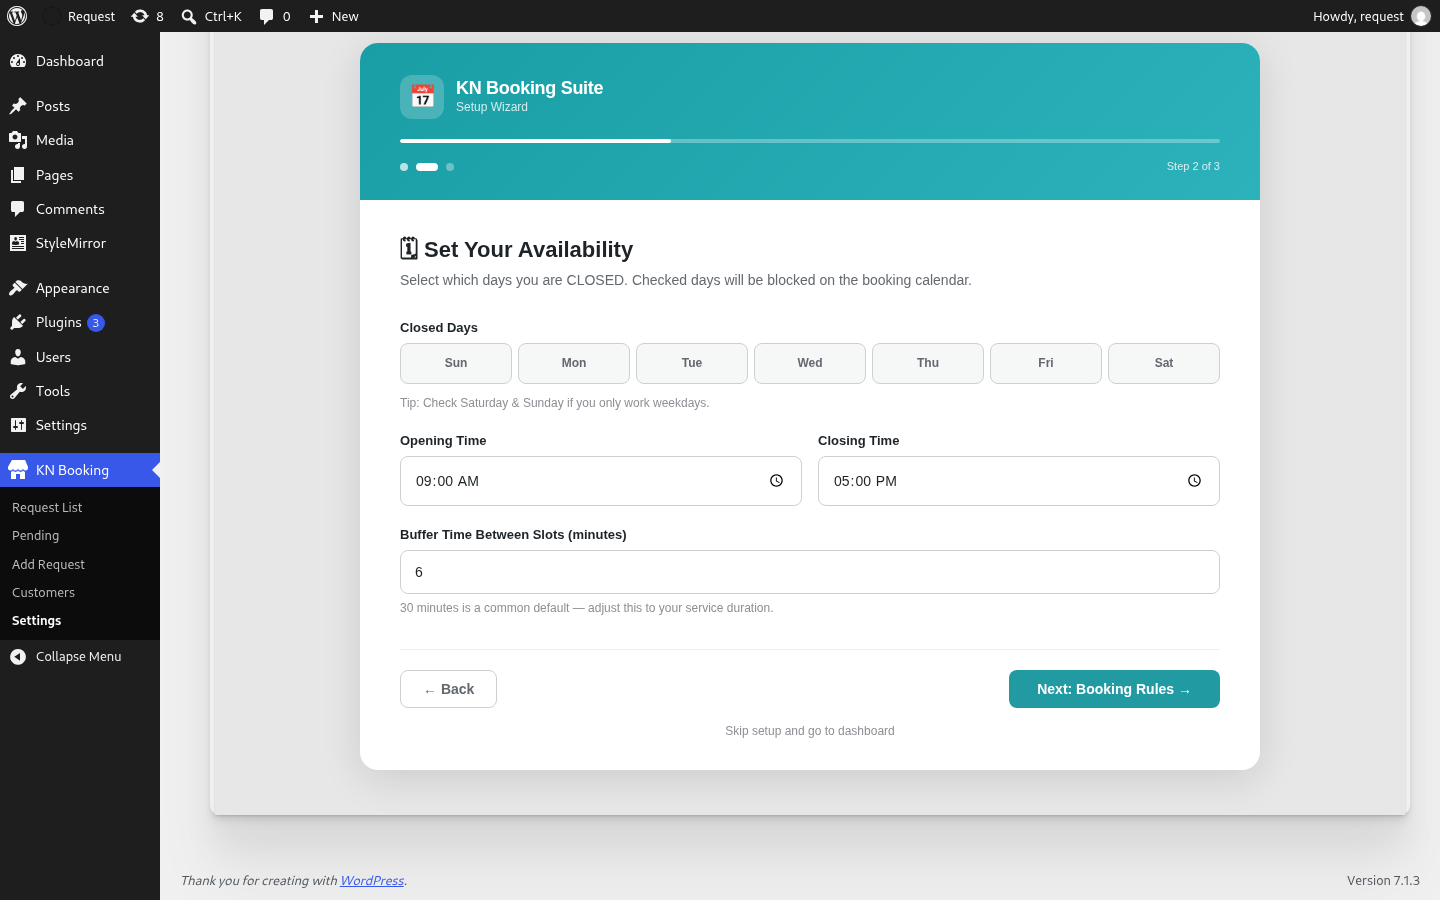
Step 2: availability. Choose your closed days, opening hours and the buffer time between appointments.
Step 3: booking rules. Set the maximum bookings per day, choose whether new bookings are approved automatically, show a phone number field on the form, and turn on admin email notifications.
You can run the wizard again at any time. It fills in your saved values.
3. Show the calendar on a page
Edit any page and add the Booking Calendar block, or paste this shortcode:
[kn_booking]
See Shortcodes and blocks for the customer profile page.
4. Match your brand
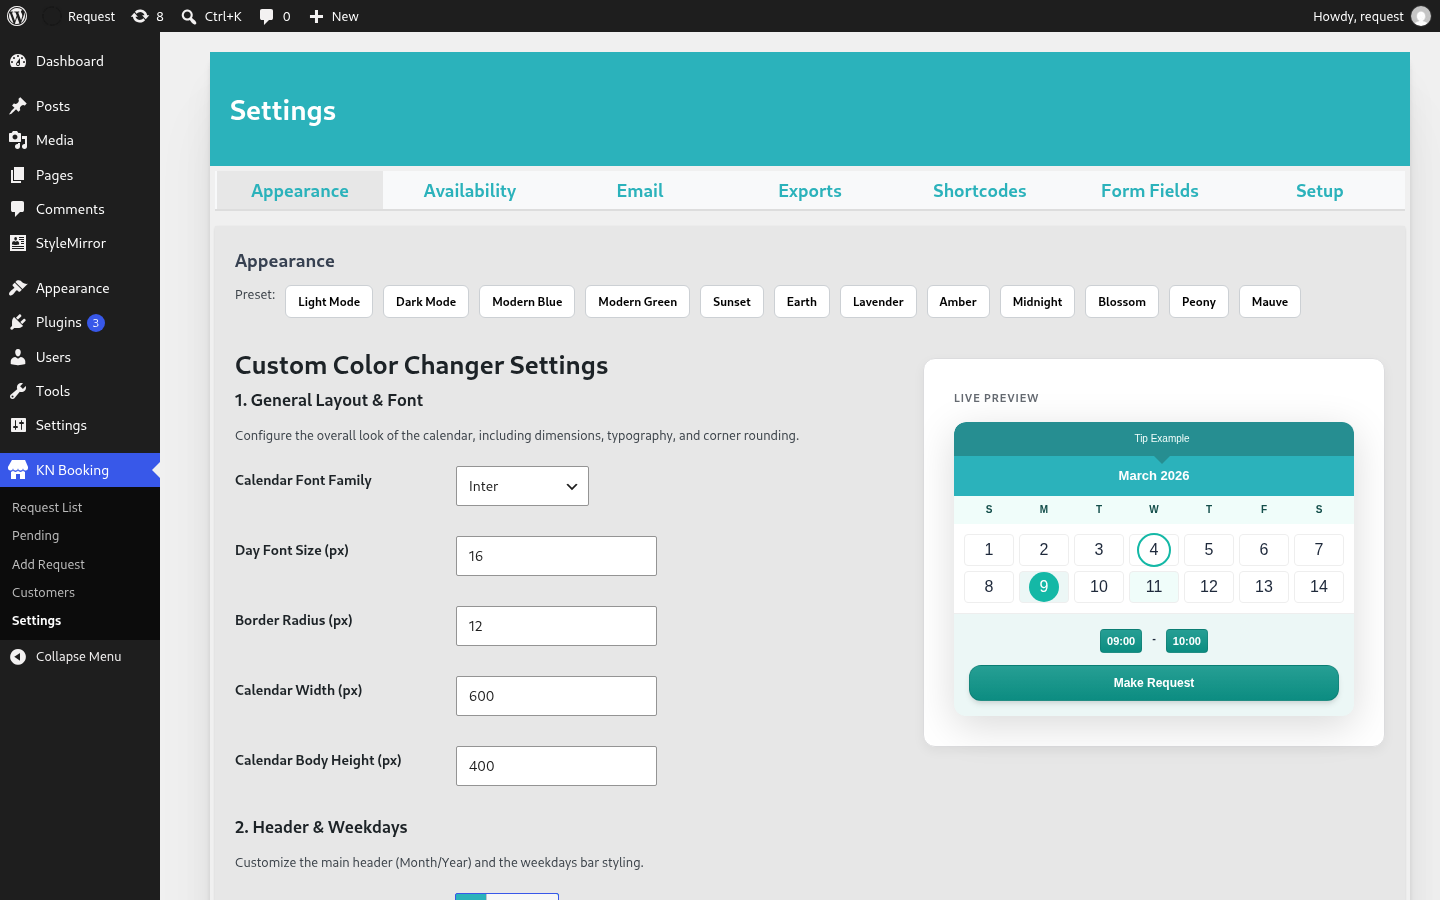
Go to KN Booking > Settings > Appearance and pick a colour preset. A live preview shows how the calendar will look.
5. Manage bookings
New bookings appear under KN Booking > Request List and Pending. You can search, approve, edit, cancel or delete each booking, and use bulk actions. Customers and admins receive email notifications you can customise under Settings > Email.